Blueberry Cream Cheese Cobbler

There’s nothing quite like the sweet, juicy taste of fresh blueberries, and this blueberry cobbler recipe perfectly captures their summery flavor. With a hint of lemon zest and creamy bits of cream cheese, this dessert is sure to be a hit at any gathering. Best of all, it’s easy to make and pairs wonderfully with a scoop of vanilla ice cream.

You’ll need:

  • 1/2 cup unsalted butter
  • 1/2 cup granulated sugar
  • 1 tsp vanilla extract
  • 3/4 cup milk
  • 1 cup all-purpose flour
  • 1 1/2 tsp baking powder
  • 1/2 tsp salt
  • 3 cups fresh blueberries
  • Zest of 1 lemon
  • 1 tbsp sugar
  • 4 oz cream cheese, cold and cut into bite-sized pieces
  • Powdered sugar for dusting
  • Vanilla ice cream for serving

To make:

  1. Preheat the Oven: Preheat your oven to 350°F (175°C).
  2. Brown the Butter: In a 10″ cast iron skillet over medium heat, melt the butter and continue to stir until it goes quiet and turns brown. This should take about 5-7 minutes. Pour the browned butter into a mixing bowl and let it cool for about 15 minutes. Do not clean the skillet, as it will be used to bake the cobbler.
  3. Prepare Dry Ingredients: While the butter cools, whisk together the flour, baking powder, and salt in a small bowl. Set aside.
  4. Prepare Blueberries: In another bowl, combine the blueberries, lemon zest, and 1 tablespoon of sugar. Set aside.
  5. Make the Batter: Once the butter has cooled (it can be a little warm but not hot), add the granulated sugar and vanilla extract to the bowl. Whisk to combine. Then whisk in half of the dry ingredients, followed by the milk, and then the remaining dry ingredients. The batter should be the consistency of thin pancake batter.
  6. Assemble the Cobbler: Pour the batter into the same skillet used to brown the butter. Scatter a handful of blueberries on top, then evenly disperse the cream cheese pieces throughout the cobbler. Top with the remaining blueberries.
  7. Bake: Bake in the preheated oven for 35-40 minutes, or until the top is golden brown and a toothpick inserted into the center comes out clean.
  8. Cool and Serve: Allow the cobbler to cool for at least 30 minutes. Dust with powdered sugar and serve with a scoop of vanilla ice cream. Enjoy!

Sign up for our farm boxes online today or find us at a farmers market near you! You can find more delicious recipes on our blog.

Red Potato Salad

Potato salad is a classic summer staple, and this creamy red potato salad recipe will surely be a hit at your next picnic or barbecue. This dish is delicious with a perfect blend of tender red potatoes, crunchy celery, tangy pickles, and fresh herbs, all tossed in a creamy dressing. Let’s dive into the recipe!

You’ll need:

  • 2 pounds small red potatoes
  • 2 tablespoons red wine vinegar, white wine vinegar, apple cider vinegar, or dill pickle juice
  • 1/2 cup sour cream
  • 1/4 cup mayonnaise
  • 1 tablespoon yellow mustard (Dijon or whole grain mustard can be substituted)
  • 2 celery stalks, finely chopped (about 1/3 cup)
  • 1 to 2 medium dill pickles, finely chopped (about 1/3 cup)
  • 1/4 cup chopped fresh parsley
  • 1/4 cup chopped fresh dill
  • 1/4 cup chopped fresh chives
  • Salt and fresh ground black pepper

To make:

  1. Cook the Potatoes: Add the potatoes to a large pot and cover with 1 ½ inches of water. Season with salt (use one teaspoon for every quart of water). Bring the water to a boil, then reduce to a simmer. Cook for 15 to 20 minutes or until the potatoes are easily pierced with a fork.
  2. Prepare an Ice Bath: Meanwhile, set up an ice bath by adding cold water to a medium bowl filled with ice. Drain the potatoes and place them into the ice bath to cool.
  3. Chop the Potatoes: When the potatoes are cool enough to handle, chop them into bite-size chunks and add them to a large bowl. Scatter the vinegar over the potatoes and lightly season with salt.
  4. Make the Dressing: In a separate bowl, stir together the mayonnaise, sour cream, and mustard.
  5. Combine Ingredients: Add the mayonnaise mixture, celery, pickles, parsley, dill, and chives to the potatoes. Gently stir to combine, being careful not to mash the potatoes too much.
  6. Season: Season the salad with salt and pepper to taste. For best results, refrigerate the salad for at least 30 minutes before serving to allow the flavors to meld together.

Sign up for our farm boxes online today or find us at a farmers market near you! You can find more delicious recipes on our blog.
Strawberry Shortcake Biscuits

There’s something magical about strawberry shortcake. The combination of fluffy biscuits, sweet and juicy strawberries, and rich whipped cream is irresistible. This recipe for strawberry shortcake biscuits is the perfect way to enjoy fresh summer strawberries.

You’ll need:

Biscuits

  • 2 cups all-purpose flour
  • 1 tablespoon baking powder
  • 1/2 teaspoon baking soda
  • 1 teaspoon kosher salt
  • 3/4 cup unsalted butter, straight from the fridge
  • 1/2 cup buttermilk, cold and shaken
  • 1 large egg
  • 1 tablespoon egg + 1 tablespoon water for egg wash

Strawberries

  • 1 pound strawberries, stems removed (hulled), quartered, and sliced
  • 3 tablespoons white granulated sugar
  • 1 teaspoon vanilla extract
  • Pinch kosher salt
  • 2 tablespoons powdered sugar
  • 3/4 cup heavy cream

To make:

  1. Preheat Oven: Preheat your oven to 400°F (200°C). Line a baking sheet with parchment paper and set aside.
  2. Mix Dry Ingredients: In a large bowl, mix together the all-purpose flour, baking powder, baking soda, and kosher salt.
  3. Grate Butter: Grate the cold butter into the flour mixture using a box grater. Transfer the bowl to the freezer for 5-7 minutes while you prepare the wet ingredients.
  4. Prepare Wet Ingredients: Measure out the buttermilk and add the egg; whisk until combined. In a small bowl, make the egg wash by whisking together the egg and water. Transfer both to the refrigerator.
  5. Combine Ingredients: Remove the bowl from the freezer. Using your hands, gently break up the butter and combine it with the flour until the mixture resembles small peas. Add the buttermilk mixture all at once to the flour mixture. Mix until barely combined, then lightly knead the dough until it forms one solid mass.
  6. Shape the Dough: Sprinkle your kitchen counter with flour and dump the dough onto it. Press the dough into a 3/4-inch thickness.
  7. Cut Biscuits: Use a 2 1/2-inch biscuit cutter to cut out the biscuits, yielding about 6 biscuits. You can recombine the scraps to get 2 more biscuits. Transfer them to the prepared baking sheet.
  8. Chill the Biscuits: If you’ve been moving slowly, place the baking sheet in the freezer for 5 minutes to get the bits of butter nice and cold again.
  9. Bake: After chilling, brush the tops of the biscuits with the egg wash. Bake in the preheated oven for 10 to 15 minutes, until tall and medium golden brown.
  10. Macerate the Strawberries: In a small bowl, mix together the strawberries, granulated sugar, vanilla extract, and a pinch of salt. Allow to stand and macerate for 10 minutes.
  11. Whip the Cream: Sift the powdered sugar into a medium bowl. Pour in the heavy cream and beat using a hand-held electric mixer or a stand mixer for about 1 to 2 minutes, until soft and pillowy.

Slice the biscuits in half. Add a spoonful of strawberries and top with a big dollop of whipped cream. Serve and enjoy!

Sign up for our farm boxes online today! You can find more delicious recipes on our blog.

Grilled Bell Peppers

Grilled bell peppers are proof that sometimes the simplest recipes can be the most delicious. This easy-to-make side dish is perfect for summer, bringing out the natural sweetness of the peppers and adding a delightful charred flavor. Let’s fire up the grill and get started!

You’ll need:

  • 4 large sweet bell peppers: Red, orange, and yellow are best for their sweetness, while green peppers are less sweet.
  • Olive oil
  • Sea salt & black pepper

To make:

  1. Heat your grill over medium-high heat for about 5-10 minutes until hot.
  2. Slice the bell peppers in half and remove the stems, seeds, and pith with a sharp knife.
  3. Using a basting or pastry brush, coat both sides of the pepper halves with olive oil.
  4. Place the bell peppers cut side down onto the preheated grill. Cook undisturbed with the lid closed for 4-5 minutes.
  5. Flip the peppers to the other side and grill with the lid closed for an additional 4-5 minutes until the peppers are cooked al dente with a nice char.
  6. Transfer the peppers from the grill to a foil-lined pan (optional) or plate. Season both sides with sea salt and fresh cracked black pepper. Drizzle with a little aged balsamic or chimichurri for extra flavor. Enjoy!

Sign up for our farm boxes online today! You can find more delicious recipes on our blog.

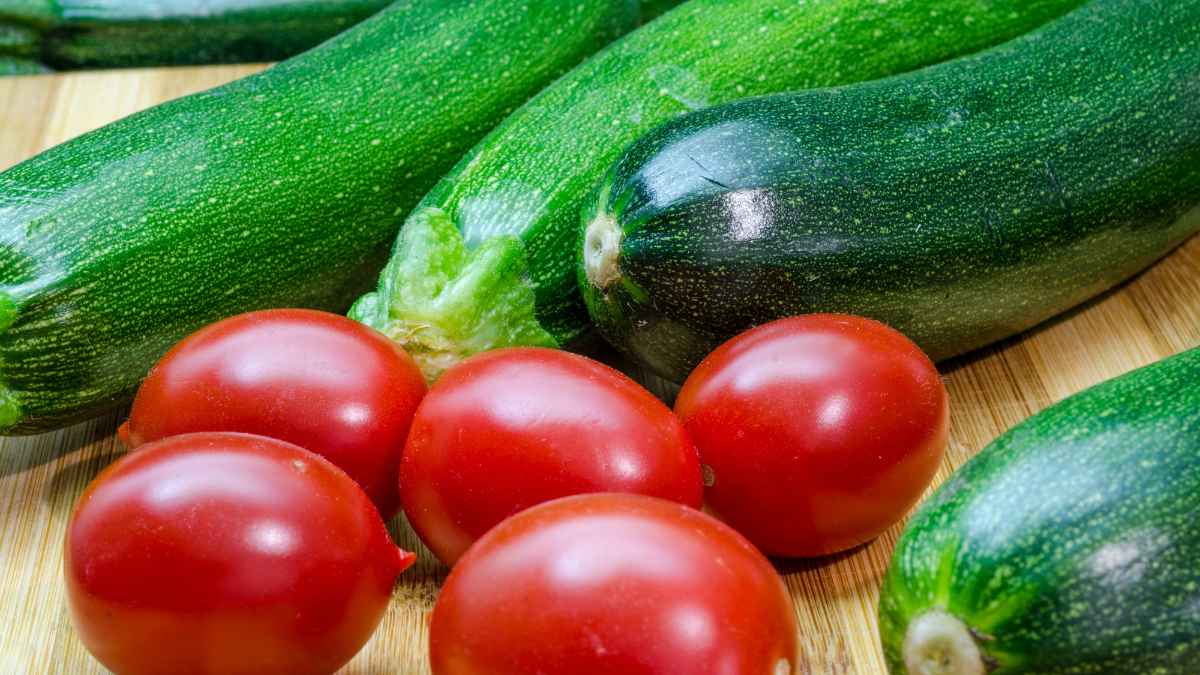
Tomato Zucchini Pasta

Summer is the perfect time to enjoy fresh vegetables, and what better way to do so than with a delicious Tomato Zucchini Pasta? This recipe is simple, quick, and bursting with flavors, making it an ideal choice for a light yet satisfying meal.

You’ll need:

  • 2 medium zucchinis
  • 2 cups cherry tomatoes
  • 8 oz (220g) pasta (we used fusilli)
  • 2 tablespoons olive oil
  • 1 teaspoon garlic powder
  • 1 teaspoon black pepper
  • 1 teaspoon fennel seeds
  • 1/4 cup vegetable stock
  • 1/2 teaspoon Cayenne pepper (optional)
  • 1 cup grated parmesan
  • Fresh basil or parsley
  • 1/2 teaspoon chili flakes (optional)

To make:

  1. Cook the Pasta:
    • Begin by cooking the pasta al dente in boiling water, following the package directions. Drain and set aside.
  2. Sauté the Zucchini:
    • Dice the zucchini and heat two tablespoons of olive oil in a large skillet over medium heat.
    • Sauté the diced zucchini until golden on the edges, stirring occasionally with a wooden spoon.
    • Once cooked, remove the zucchini from the skillet and set it aside on a plate.
  3. Cook the Tomatoes:
    • Using the same skillet, add the cherry tomatoes, black pepper, fennel seeds, garlic powder, and Cayenne pepper (if using). Pour in the vegetable stock and cover the skillet with a lid.
    • Cook the tomatoes until they are blistered, stirring regularly.
  4. Combine Ingredients:
    • Push the tomatoes to one side of the skillet and add the cooked zucchini, pasta, and grated parmesan.
    • Stir everything together and reheat for a couple of minutes, adding more vegetable stock if necessary to keep the mixture moist.
  5. Serve:
    • Serve the tomato zucchini pasta immediately, drizzling olive oil on top and adding more parmesan if desired.
    • Garnish with fresh basil or parsley and a sprinkle of chili flakes for an extra kick.

Sign up for our farm boxes online today! You can find more delicious recipes on our blog.

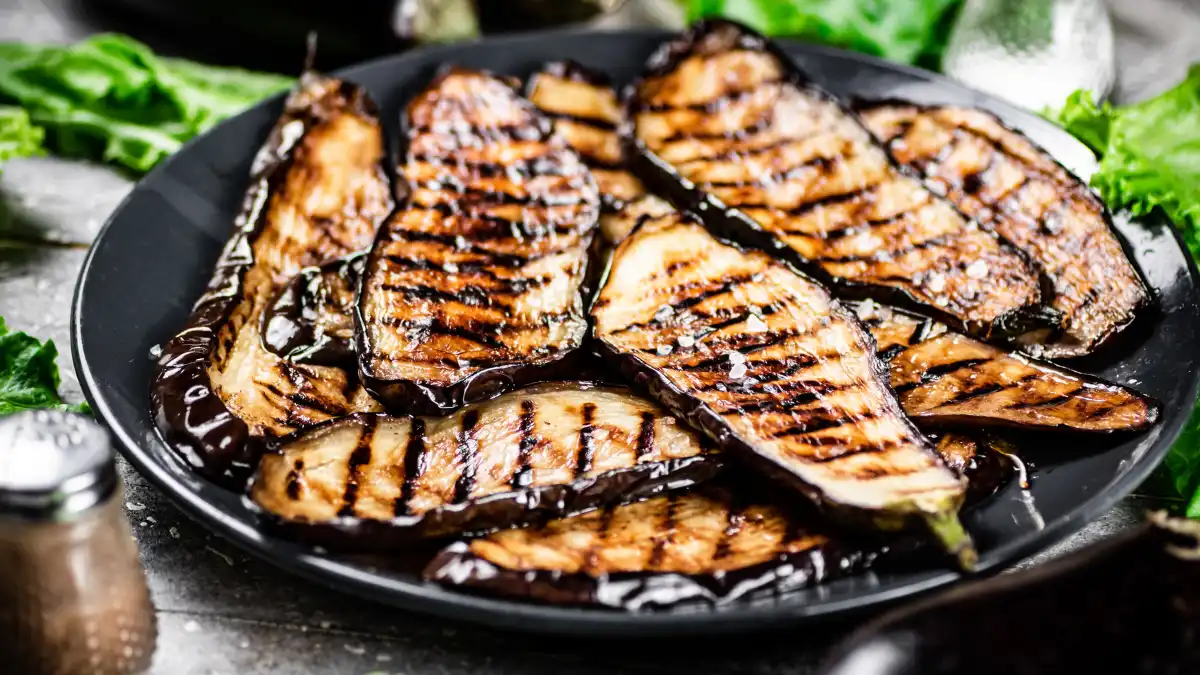
Eggplant Parmesan

This classic Eggplant Parmesan recipe is a beautiful blend of crispy breaded eggplant, rich marinara sauce, and gooey melted cheese.

You’ll need:

  • 2 large eggplants, sliced into 1/2-inch rounds
  • Salt, for sweating the eggplant
  • 2 cups breadcrumbs
  • 1 cup grated Parmesan cheese
  • 1 teaspoon dried oregano
  • 1 teaspoon dried basil
  • 1/2 teaspoon garlic powder
  • 1/2 teaspoon salt
  • 1/2 teaspoon black pepper
  • 3 large eggs
  • 1/4 cup milk
  • 1 cup all-purpose flour
  • 2 cups shredded mozzarella cheese
  • 1/2 cup grated Parmesan cheese
  • Fresh basil leaves, for garnish (optional)

Sauce

  • 2 tablespoons olive oil
  • 1 small onion, finely chopped
  • 3 cloves garlic, minced
  • 1 can (28 ounces) crushed tomatoes
  • 1 can (14.5 ounces) diced tomatoes
  • 1 teaspoon sugar
  • 1 teaspoon dried basil
  • 1 teaspoon dried oregano
  • Salt and pepper to taste

To make:

  1. Place the eggplant slices on a baking sheet lined with paper towels. Sprinkle both sides generously with salt and let sit for 30 minutes. This helps remove excess moisture and bitterness. After 30 minutes, rinse the slices under cold water and pat dry with paper towels.
  2. Preheat your oven to 400°F (200°C). Set up a breading station with three shallow bowls: one with flour, one with beaten eggs mixed with milk, and one with breadcrumbs mixed with Parmesan cheese, oregano, basil, garlic powder, salt, and pepper.
  3. Dredge each eggplant slice in flour, dip it in the egg mixture, and coat it with the breadcrumb mixture. Place the breaded slices on a baking sheet lined with parchment paper.
  4. Bake the eggplant slices for 20-25 minutes, flipping halfway through, until golden brown and crispy.

Sauce

  1. Heat olive oil in a large saucepan over medium heat. Add the chopped onion and sauté until translucent, about 5 minutes. Add the minced garlic and cook for another minute until fragrant.
  2. Stir in the crushed tomatoes, diced tomatoes, sugar, basil, and oregano. Season with salt and pepper. Bring the sauce to a simmer and let cook for 20-30 minutes, stirring occasionally.

Assemble:

  1. Layering: In a 9×13-inch baking dish, spread a thin layer of marinara sauce on the bottom. Arrange a layer of baked eggplant slices over the sauce. Sprinkle with a layer of mozzarella cheese and Parmesan cheese. Repeat the layers until all the ingredients are used, finishing with a layer of cheese on top.
  2. Baking: Reduce the oven temperature to 375°F (190°C). Cover the baking dish with aluminum foil and bake for 20 minutes. Remove the foil and bake for 15-20 minutes, until the cheese is bubbly and golden brown.
  3. Serving: Let the Eggplant Parmesan cool for a few minutes before serving. Garnish with fresh basil leaves.

Sign up for our farm boxes online today! You can find more delicious recipes on our blog.
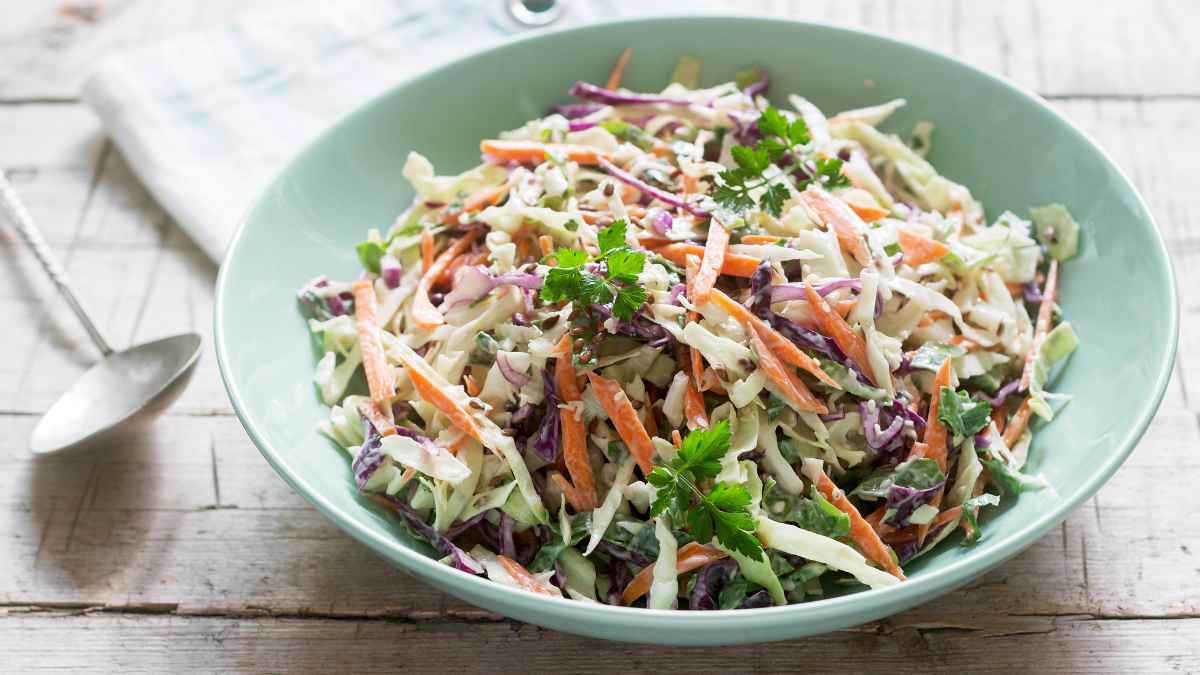
Kohlrabi and Apple Salad

Kohlrabi is a versatile veggie that offers a delightful crunch and a mild, slightly sweet flavor that pairs well with a variety of dishes. Whether new to kohlrabi or a seasoned fan, this salad recipe will become a family favorite. Let’s dive into a simple and delicious way to enjoy kohlrabi.

You’ll need:

  • 2 medium kohlrabi bulbs, peeled and julienned
  • 2 crisp apples, cored and julienned
  • 1 small red onion, thinly sliced
  • 1/4 cup chopped fresh parsley
  • 1/4 cup chopped fresh mint (optional)
  • 1/4 cup roasted sunflower seeds or chopped nuts (optional)

For the Dressing:

  • 3 tablespoons olive oil
  • 2 tablespoons fresh lemon juice
  • 1 tablespoon honey
  • Salt and pepper to taste

To make:

  1. Prepare the Vegetables:
    • Start by peeling the kohlrabi bulbs. Use a sharp knife or vegetable peeler to remove the tough outer skin.
    • Julienne the kohlrabi into thin, matchstick-like strips. Repeat this process with the apples, ensuring they are similar in size to the kohlrabi strips.
    • Thinly slice the red onion and chop the fresh parsley and mint.
  2. Make the Dressing:
    • In a small bowl, whisk together the olive oil, fresh lemon juice, and honey until well combined. Season with salt and pepper to taste.
  3. Assemble the Salad:
    • In a large mixing bowl, combine the julienned kohlrabi, apples, and sliced red onion.
    • Add the chopped parsley and mint for a burst of fresh flavor.
    • Pour the honey-lemon dressing over the salad and toss gently to coat all the ingredients evenly.
  4. Kohlrabi and Apple Salad
    • Transfer the salad to a serving platter or individual plates.
    • Sprinkle the roasted sunflower seeds or chopped nuts on top for added crunch and texture.
    • Serve immediately, or refrigerate for a few hours to allow the flavors to meld together.

Sign up for our farm boxes online today! You can find more delicious recipes on our blog.
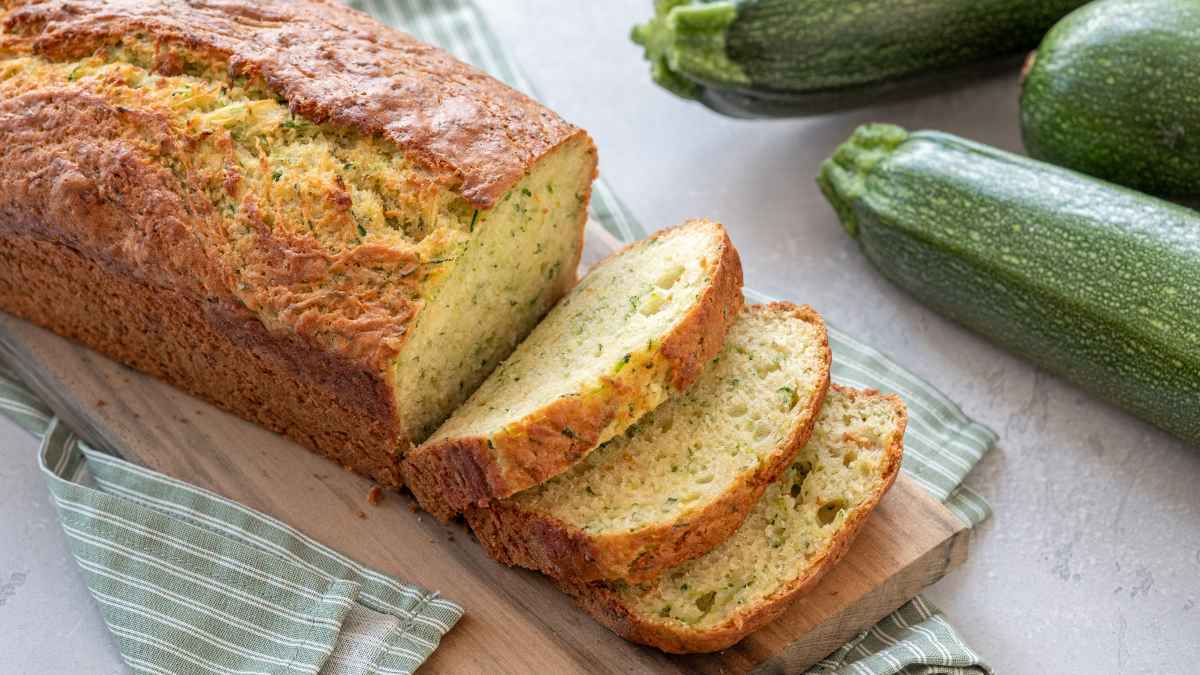
Bok Choy Stir Fry

This Bok Choy Stir Fry with Chicken recipe is a delightful fusion of tender chicken, fresh vegetables, and a unique blend of sauces that will make your taste buds sing. 

You’ll need:

Chicken Marinade:

  • 1 lb chicken breast, thinly sliced
  • 1 tablespoon soy sauce
  • 1 tablespoon rice vinegar
  • 1 teaspoon sesame oil
  • 1 teaspoon cornstarch
  • 1 teaspoon grated ginger

Stir Fry:

  • 2 tablespoons vegetable oil
  • 3 cloves garlic, minced
  • 1-inch piece ginger, minced
  • 1 large onion, thinly sliced
  • 2 bell peppers (red and yellow), thinly sliced
  • 1 large carrot, julienned
  • 4 cups bok choy, chopped
  • 1 cup snap peas
  • 3 green onions, sliced
  • 1 tablespoon soy sauce
  • 1 tablespoon oyster sauce
  • 1 tablespoon hoisin sauce
  • 1 teaspoon chili paste (optional, for heat)
  • Salt and pepper to taste
  • Sesame seeds, for garnish

To make:

  1. Marinate the Chicken:
    • Mix a bowl of soy sauce, rice vinegar, sesame oil, cornstarch, and grated ginger.
    • Add the thinly sliced chicken breast to the marinade, ensuring all pieces are well coated. Let it marinate for at least 15 minutes to allow the flavors to infuse.
  2. Prepare the stir-fry sauce:
    • Mix soy sauce, oyster sauce, hoisin sauce, and chili paste in a small bowl if you like a bit of heat. Set this sauce aside.
  3. Cook the Chicken:
    • Heat 1 tablespoon of vegetable oil in a large skillet or wok over medium-high heat.
    • Add the marinated chicken and cook until it’s no longer pink about 5-7 minutes. Once cooked, remove the chicken from the skillet and set it aside.
  4. Cook the Vegetables:
    • In the same skillet, add the remaining tablespoon of vegetable oil.
    • Sauté minced garlic and ginger for about 30 seconds until they become fragrant.
    • Add the sliced onion, bell peppers, and carrot. Stir fry these vegetables for about 3-4 minutes until they soften.
    • Next, add the chopped bok choy and snap peas. Continue cooking for another 2-3 minutes until the vegetables are tender yet crisp.
  5. Combine Everything:
    • Return the cooked chicken to the skillet with the vegetables.
    • Pour the prepared stir-fry sauce over the chicken and vegetables, stirring to coat everything evenly.
    • Let the mixture cook for 2-3 minutes to ensure everything is well combined and heated.
  6. Serve:
    • Transfer your bok choy stir fry with chicken to a serving dish.
    • Garnish with sliced green onions and a sprinkle of sesame seeds.
    • Serve hot, accompanied by steamed rice or noodles for a complete meal.

Sign up for our farm boxes online today! You can find more delicious recipes on our blog.
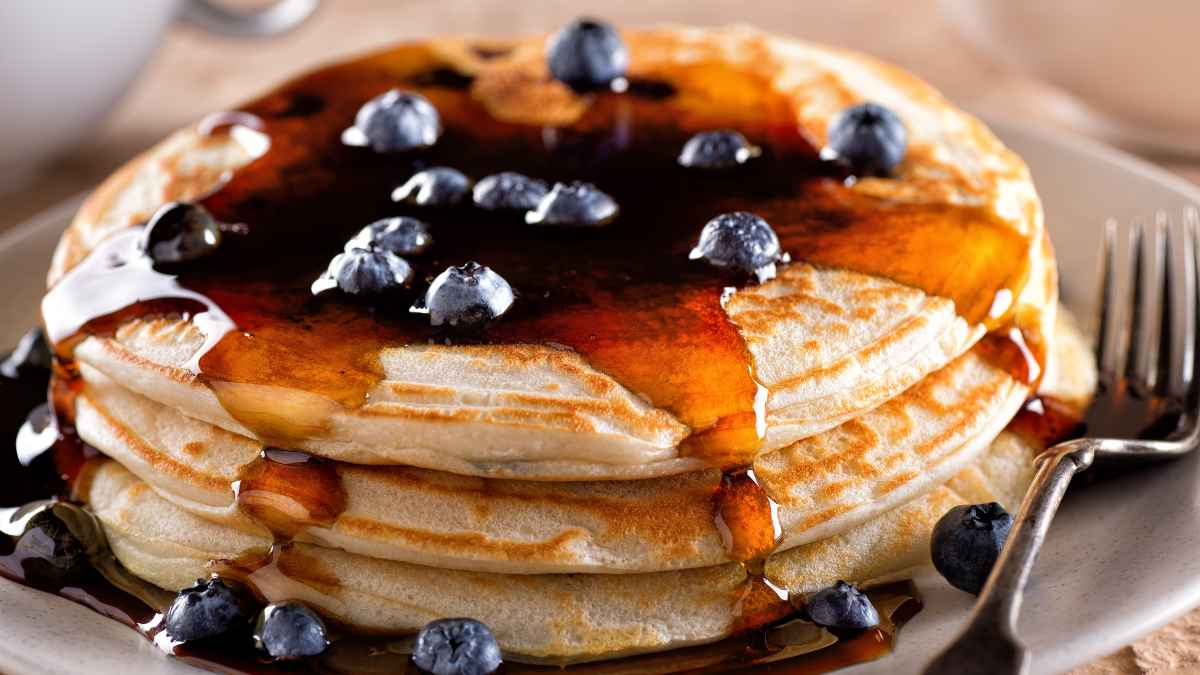
Cooking Dandelion Greens

Dandelion greens, often seen as a pesky weed, are a nutritional powerhouse and a delightful addition to your culinary repertoire. If you’re new to dandelion greens or looking for fresh ways to prepare them, this guide will walk you through the steps from harvest to table.

Preparing Dandelion Greens

Rinse the greens thoroughly in cold water to remove dirt and debris. Repeat the rinsing process until the water runs clear. Remove any thick or tough stems which can be fibrous and bitter. Soak the greens in cold water for 10-15 minutes to reduce bitterness. Some people prefer to add a splash of vinegar or lemon juice to the soaking water.

Cooking with Dandelion Greens

Dandelion greens are versatile and can be used in a variety of dishes. Here are some popular methods to prepare them:

Salads

For a fresh, crisp salad, use the raw greens. Pair them with bold flavors to balance their natural bitterness. Here’s a simple recipe:

Ingredients:

  • 2 cups dandelion greens, chopped
  • 1 small red onion, thinly sliced
  • 1 avocado, diced
  • 1/4 cup crumbled feta cheese
  • 1/4 cup toasted nuts (walnuts or almonds)

Dressing:

  • 3 tablespoons olive oil
  • 1 tablespoon lemon juice
  • 1 teaspoon Dijon mustard
  • Salt and pepper to taste

Instructions:

  1. Combine the dandelion greens, red onion, avocado, feta cheese, and nuts in a large bowl.
  2. Whisk together the dressing ingredients and pour over the salad.
  3. Toss to coat and serve immediately.

Sauteed Dandelion Greens

Sauteeing is a quick and easy way to prepare dandelion greens. This method mellows their bitterness and brings out a rich, savory flavor.

Ingredients:

  • 1 tablespoon olive oil
  • 2 cloves garlic, minced
  • 4 cups dandelion greens, chopped
  • Salt and pepper to taste
  • Lemon wedges for serving

Instructions:

  1. Heat the olive oil in a large skillet over medium heat.
  2. Add the garlic and sauté until fragrant, about 1 minute.
  3. Add the dandelion greens and cook until wilted, about 3-5 minutes.
  4. Season with salt and pepper.
  5. Serve with a squeeze of fresh lemon juice.

Dandelion Pesto

For a unique twist on traditional pesto, try using dandelion greens. This vibrant sauce is perfect for pasta, sandwiches, or as a dip.

Ingredients:

  • 2 cups dandelion greens, chopped
  • 1/2 cup basil leaves
  • 1/4 cup pine nuts or walnuts
  • 1/2 cup grated Parmesan cheese
  • 2 cloves garlic
  • 1/2 cup olive oil
  • Salt and pepper to taste

Instructions:

  1. Combine the dandelion greens, basil, nuts, Parmesan cheese, and garlic in a food processor.
  2. Pulse until the mixture is coarsely chopped.
  3. With the processor running, slowly add the olive oil until the pesto reaches your desired consistency.
  4. Season with salt and pepper.

Sign up for our farm boxes online today! You can find more delicious recipes on our blog.
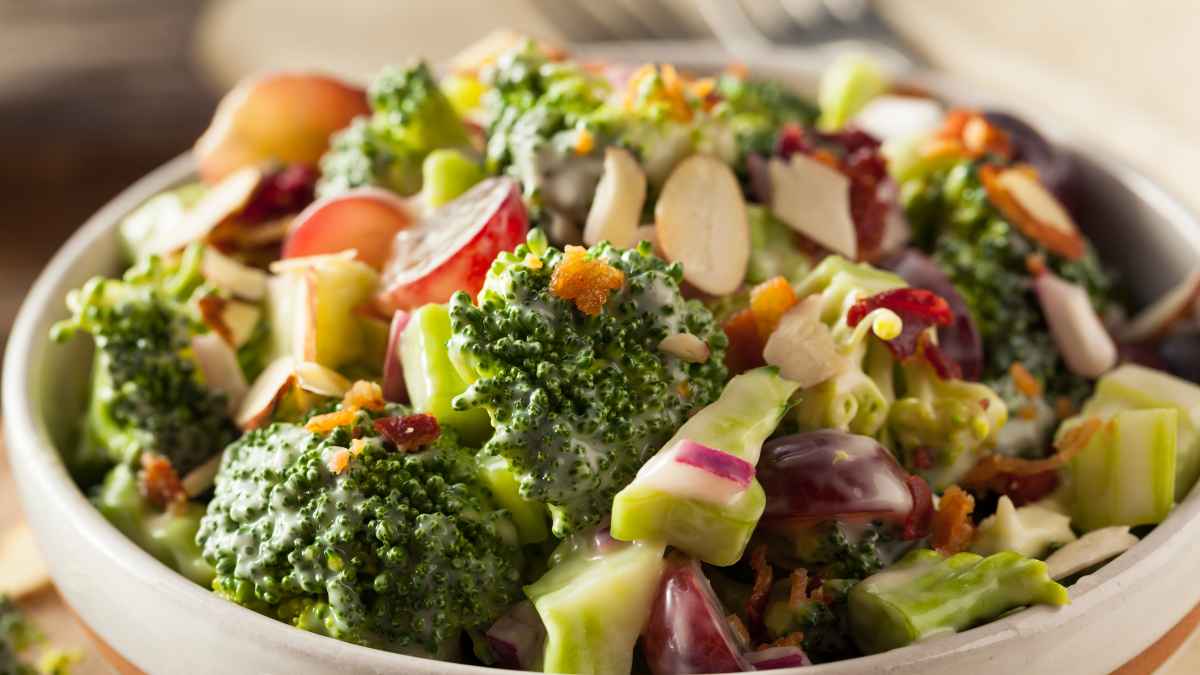
Bacon-Wrapped Asparagus

Asparagus is delicious on its own, but when you add bacon, you have an irresistible culinary combination! Try this delicious recipe paired with baked potatoes or shrimp skewers.

You’ll need:

  • 20 thick asparagus spears (washed & trimmed)
  • 1 tbsp olive oil
  • seasoning to taste (go easy on the salt)
  • 10 bacon slices

To make:

Step 1: Preheat and Prepare

  • Preheat your oven to 400° F (200° C).
  • Prepare a large sheet pan with parchment paper or foil for easy cleanup.

Step 2: Prepare the Asparagus

  • Wash and trim the asparagus spears.
  • Brush with a bit of olive oil.
  • Season with black pepper, garlic powder, and a pinch of salt (remember, the bacon is already salty!).

Step 3: Wrap with Bacon

  • Cut the bacon strips in half length-wise.
  • Wrap each asparagus spear tightly with a bacon strip.

Step 4: Cook to Perfection

  • Place the bacon-wrapped asparagus on the prepared sheet pan.
  • Cook in the middle rack of the oven for 20-25 minutes or until:
    • The bacon is crispy.
    • The asparagus is tender.
  • If you like extra crispy bacon, turn the broiler on for the last few minutes of cooking.

Sign up for our farm boxes online today! You can find more delicious recipes on our blog.