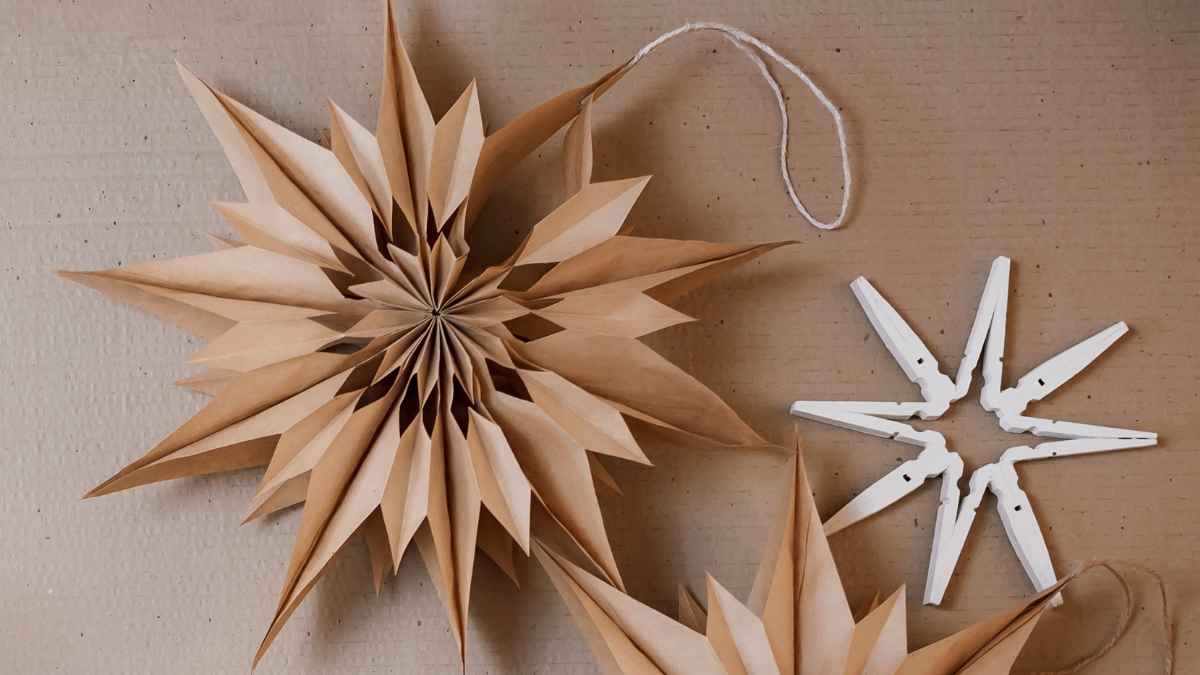
Transforming your home into a winter wonderland doesn’t have to break the bank! One delightful and budget-friendly way to deck out your house is by creating giant paper bag snowflakes. These whimsical decorations are not only easy to make but also a fun activity for the entire family. With just a few simple supplies and a bit of creativity, you can add a touch of festive charm to your living space. Let’s dive into the step-by-step process of crafting these delightful paper bag snowflakes.
You’ll need:
- 9 lunch bags (white or natural brown)
- Scissors
- Craft glue
- Stapler
- Pencil
- Ruler
- Clothing pins or little clamps
- String
To make:
Start by gluing the 9 lunch bags together. Apply glue in the shape of a ‘T’ – one thin line at the bottom of the bag and one line going up the center of the bag.
Stack the bags on top of each other, making sure all the open ends face one direction and the bottom folded part faces the other.
Use clothing pins, clips, or clamps to keep the center glue line tight. Alternatively, you can use something heavy as a weight to ensure a secure bond.
Before cutting, open up the paper bag fan to ensure the bags separate and open properly. This step is crucial for the next phase of the project.
Use a stapler to secure some of the top edges, adding extra reinforcement to the structure of your giant snowflake.
On the front of the bag, draw a snowflake pattern of your choice. Get creative and experiment with different designs to make each snowflake unique.
Using strong scissors, carefully cut along the snowflake pattern. If you’re crafting with kids, offer assistance during this step. It’s okay to cut a few layers of the bags at a time if necessary.
Punch a hole or use a hole punch near the top of your giant paper bag snowflake. Attach a string through the hole for easy hanging!
You can find more holiday recipes and crafts on our farm blog!


