Spicy Lettuce Wraps

Romaine isn’t just for tasty salads. It makes great low-carb, crunchy bun and tortilla alternatives for tacos, burgers, and wraps like this delicious recipe. 

You’ll need:

2 tbsp vegetable oil
1 tbsp brown sugar
1 tsp Worcestershire sauce
2 tbsp soy sauce
1 tbsp Sriracha, plus more for serving
3  thinly sliced scallions
2 finely chopped garlic cloves
1 lb ground beef
Kosher salt
Romaine lettuce
Lime wedges (for serving)

To make:

In a small bowl, mix soy sauce, brown sugar, Worcestershire sauce, and 1 tbsp Sriracha. Set aside.

In a large skillet, heat the vegetable oil over medium. Add your scallions and garlic and cook until softened (2-3 minutes). Add the chicken and season with kosher salt. Cook until chicken is cooked through, 6 minutes. Add the soy sauce mixture and cook for 2 minutes until liquid is almost completely reduced. Serve meat mixture in Romaine lettuce leaves with lime wedges and Sriracha. 

You can get farm-fresh greens when you join our CSA program. Visit our blog for more delicious recipes!

Carving Pumpkins

Carving Pumpkins

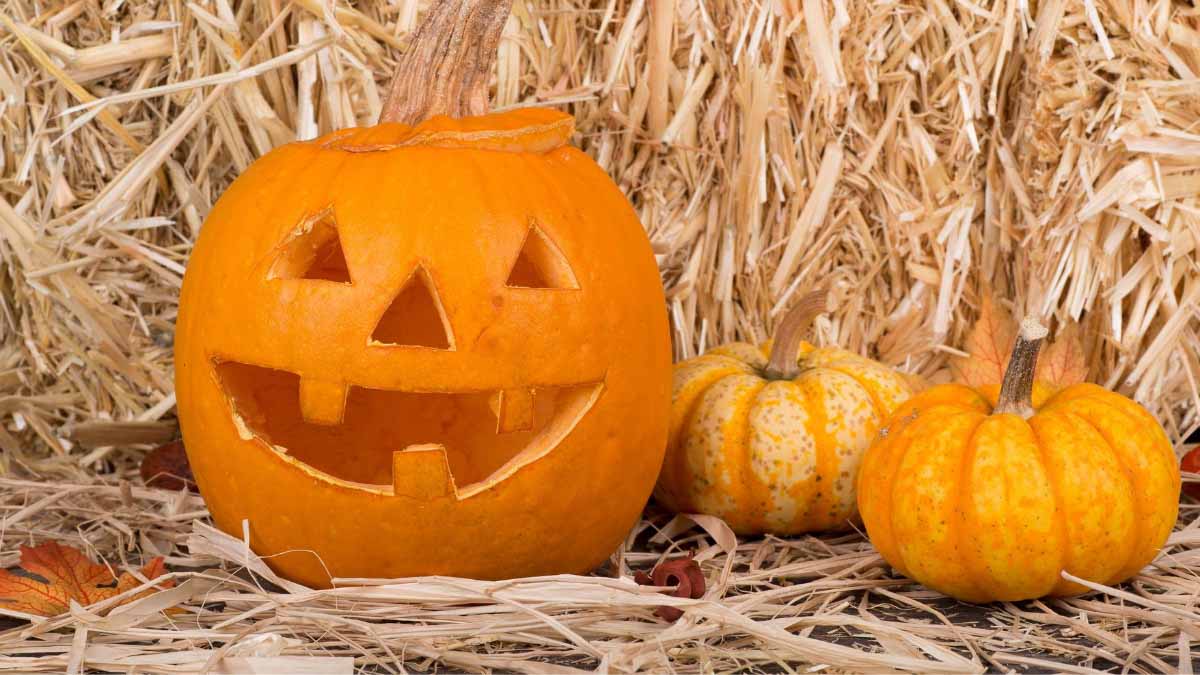
Fall and Halloween are just around the corner! It’s almost time to decorate the house in fake spider webs (or simply leave the REAL ones up), pick out a spooky costume and carve some pumpkins! Here are a few tips for aMAZEing Jack O’ Lanterns.

Tip 1. Choose the right pumpkin.
The right pumpkin has a flat bottom so that it doesn’t roll all over the front porch. Select a fresh pumpkin with a solid stem and no bruising. We grow several varieties of carving pumpkins including Orange Sunrise, Kratos, Gladiator and Early King. We also grow some really great white carving varieties including Polar Bear and New Moon.

Tip 2: Cut at an angle.
Have you ever cut the top off your pumpkin only to have to drop into the sticky, gooey mess? Avoid this nonsense by cutting your lid off at an angle.

Tip 3: Have the right tools.
One of the best tools for cutting the lid off a pumpkin is a keyhole saw. The sharp teeth on this saw can easily slice through a pumpkin’s thick shell, and the flexible blade is awesome for making curved cuts. Other useful carving tools include hole cutters, wood gauges and a power drill. Melon ballers or ice cream scoops are perfect for getting all that goopy pulp out. 

Tip 4: Keep it fresh.
Nothing stinks more than spending oodles of time on a pumpkin only to have it rot away a few days later. To keep your carved masterpiece daisy fresh for Halloween, spread petroleum jelly on the cut edges. If it shrivels up, you can freshen it up by soaking it in cold water for up to 8 hours. 

Visit us on Pinterest for loads of fun carving ideas!

Come on out to the farm this Fall for heaps of fun on the farm!

Get Crafty!

Get Crafty!

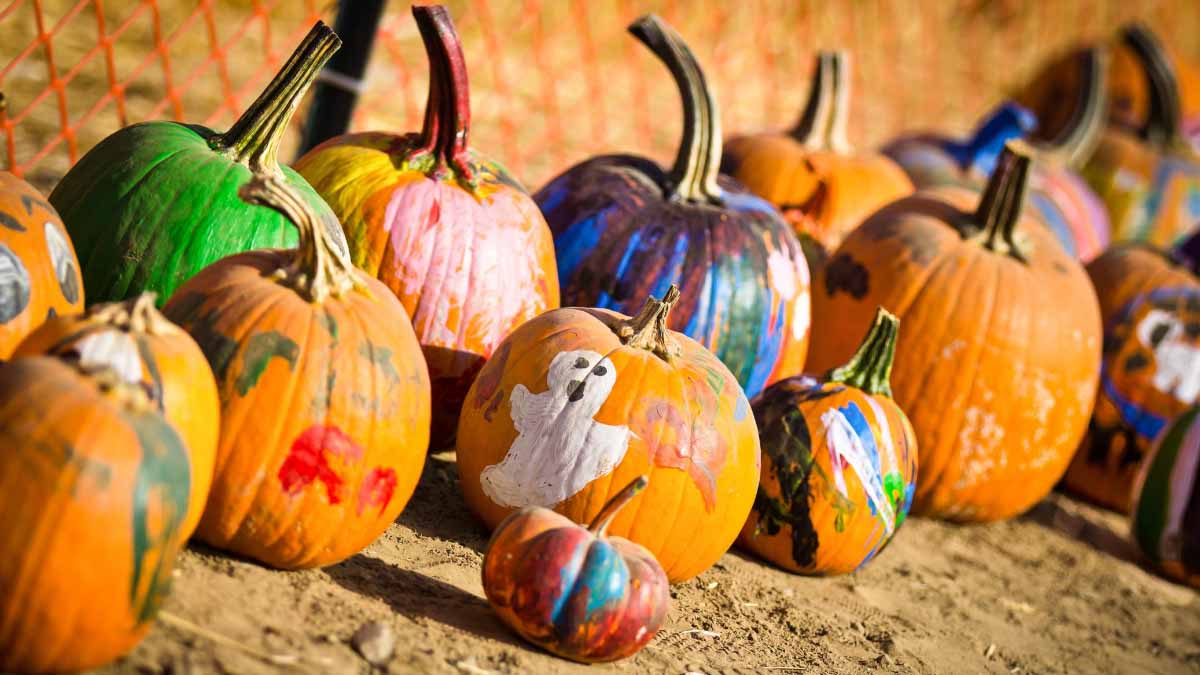
Painting pumpkins instead of carving them has several perks. For one, painted pumpkins last way longer than carved ones do. You don’t have to worry about the kids hurting themselves with sharp objects. Also, you can be as creative as you want to be with glitter, stickers, or whatever else your inner Picasso craves!

Picking the Right Pumpkin
The perfect painting pumpkin has a smooth, even surface. Be sure to choose one without bruises, scratches, and lumps. We have Early Kings and Gladiators if you want BIG pumpkins. We also have Munchkins if you want tiny pumpkins for your tiny toddlers. If lumpy is what you’re going for, we have Warty Goblins which look really cool!

A Good Cleaning
To clean your pumpkin, you can use a damp cloth or paper towel to gently remove the dirt and grime. Avoid using items like rough kitchen scrubbers as these can damage your pumpkin’s skin. Use a soft cloth to thoroughly dry your pumpkin and be sure to keep the stem area dry. A wet stem or blossom (the bottom of your pumpkin) can cause your pumpkin to rot. 

Let Your Fancy Flow!
When it comes to pumpkin painting, the creative options endless! Stencils, markers and stickers are easy options for younger kids. 

Pumpkin Painting Tools
Acrylic paint is a great option for painting pumpkins as it dries quickly and allows you to paint over the first layer in a short time period. Go-to painting tools include cheap paint brushes, cotton swabs, sponges, and cotton balls.

Mom Tip: Put down a cheap vinyl table cloth or some newspapers to protect your furniture from paint spills.

Gussy ’em Up!
Make your pumpkin shine with fun embellishments like glitter, sequins, pom poms, or rhinestones. Add googly eyes to create faces! Incorporate glow-in-the-dark paint to make your pumpkin stand out at night!

Check out our Pinterest boards for creative inspiration!

We look forward to seeing you here at the farm for all of our Fall fun!