Rosecreek Farms

Tasty Greens!

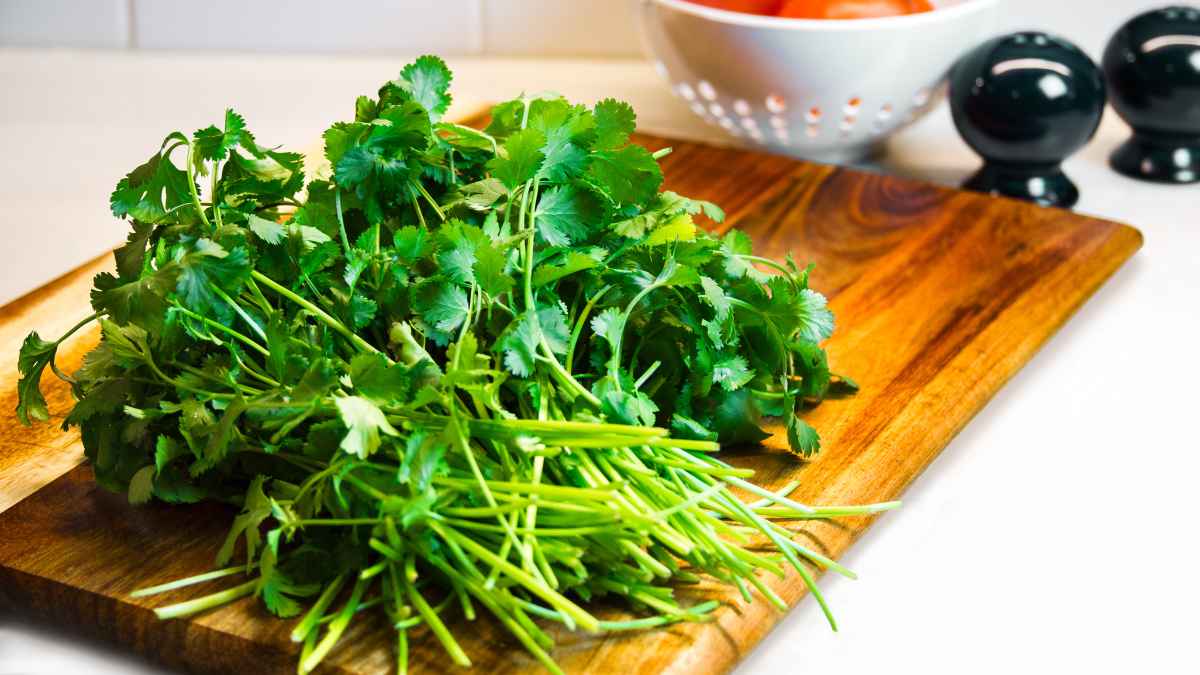
We are so honored to be partnering with Rosecreek Farms, a small operations produce farm located Selmer, Tennessee. This family owned and operated farm will be supplying a variety of quality ​​lettuce, greens and root crops. They offer delicious greens including Green Leaf, Panisse and Butter along with roots like carrots and turmeric. Be sure to order some of their goodies in your farm box

Nothin’ But Butter!

Nothin’ But Butter!

Everything’s better with butter. That’s the motto of Wendy French Barrett, Owner and Chief Butter Enthusiast of Wise Butter, and we completely agree! Wise Butter is small-batch, blended butter made lovingly by hand in Nashville, TN and we are thrilled to offer their goods in our seasonal farm boxes. They offer a Chipotle Butter that is delicious on a sweet potato, a Garlic Basil Wise Butter that packs a punch with traditional shrimp and grits and so much more! Add some Wise Butter to your box!

Paint-Your-Own Ornaments

Paint-Your-Own Ornaments

What better way to celebrate the holidays than to get the family involved in a craft or two! Try this Paint-Your-Own Ornaments craft! Kiddos (along with Mom and Dad) can paint their favorite Christmas characters like Santa or Rudolph or glue a photo of themselves onto the ornament as a holiday gift to Grandma and Grandpa!

You’ll need:

Wooden ornaments
Acrylic paint
Ribbon
Photos and glue if making a photo ornament
String to hang

To make:

Prep a work area to keep the paint off any furniture. Give your kids the materials and let ’em have at it!

Visit our blog for more fun holiday crafts!

Dried Orange Garland

Dried Orange Garland

You’ve picked the perfect Christmas tree. Now it’s time to trim it! Beautiful ornaments don’t have to be store bought and original tree garlands were often made from natural items such as dried fruit, cinnamon sticks, popcorn, etc. Try this easy garland made of dried orange slices and ribbon!

You’ll need:

  • 2 medium oranges
  • Thin ribbon
  • Scissors
  • Yarn needle
  • Cooling rack

To make:

Preheat the oven to 200 degrees. Cut the oranges into 2 cm slices. Blot the slices with paper towels to remove some of the moisture (this will help them dry faster). Place the orange slices on a cooling rack. Turn the slices every half hour for 2-3 hours. 

Using the yarn needle, poke a hole near the top of the orange and run the ribbon through. That’s it! Time to decorate your tree!

Visit our blog for more holiday tips and tricks!

Painted Pumpkins!

Fall is such a fun time of year for crafts! From making crayon rubs of leaves to painting pumpkins, there are so many great projects to do to keep the little ones entertained.

You’ll Need:
Pumpkins (we’ve got heaps of pumpkins and gourds in all shapes, sizes and colors)
White acrylic paint
Paint Pens

To Make:
Using a white acrylic paint, give your pumpkin two coats, allowing both to dry completely. Using your paint pens, decorate your pumpkins as you wish! Let each coat dry completely. If your pumpkins will be outdoors, use an aerosol spray sealant to protect them from the elements. 

We look forward to seeing y’all here at the farm for loads of Fall fun!

Glow-in-the-Dark Pumpkins

Glow-in-the-dark paint is a fun way to give your pumpkins a glow without the flame!

You’ll Need:
Pumpkins (we’ve got lots)
Glow-in-the-Dark Paint
White acrylic paint
Paint brushes

To Make:
Using a white acrylic paint, give your pumpkin two coats, allowing both to dry completely. Give the glow-in-the-dark paint a good shake and give your pumpkin two coats in whichever color you like. Let each coat dry completely. If your pumpkins will be outdoors, use an aerosol spray sealant to protect them from the elements. 

We look forward to seeing y’all here at the farm for loads of Fall fun!

Stenciled Pumpkins

Did you know you can create some GOURDgeous pumpkins with just a bit of paint, a brush and a few templates? Give this fun pumpkin decorating method a try!

You’ll Need:
Pumpkins
Paint (we used acrylic paint in green, red and orange along with copper and gold)
Paint brushes or sponges
Stencils (we used these fun leaf ones)

To Make:
Place the stencil over the pumpkin (you can use tape to hold it in place if needed). Using the brush or sponge, apply the paint to the pumpkin. Allow to dry. If these pumpkins are going outdoors, an aerosol spray sealant will help the paint stick even in the elements.

We look forward to seeing y’all here at the farm for loads of Fall fun!

Pumpkin Stick ‘Ems!

You don’t need to carve a pumpkin to create some spectacularly festive pumpkins! Try these fun sticker packs to create your fall porch decor!

You’ll Need:
Pumpkins of various sizes (we have a bunch here at the farm)
3D Foam Sticker Kit
Face Sticker Kit

To Make:
Peel and stick! That’s it!

We look forward to seeing y’all here at the farm for loads of Fall fun!

Spooky Spiders!

Fall is such a fun time of year for crafts! From painting pumpkins to making crayon rubs of leaves, there are so many great projects to do to keep the little ones entertained. Try this hand-print spider craft! 

You’ll Need:
Black construction paper
Google eyes
Glue
Safety scissors
White colored pencil, marker or crayon
Yarn
Tape

To Make:
Using the white colored pencil, help your child trace their hands. They can choose to have 10-legged spiders or 8-legged spiders. Help your little one cut out the hands or cut them out for them. Using glue, paste the palms over one another so that the fingers are splayed out. Stick the google eyes on and use the white pencil to make a smile complete with fangs. Cut a piece of string and tape it to the back of the spider to hang. Get the whole family involved to make a heap of the creepy critters!

We look forward to seeing y’all here at the farm for loads of Fall fun!

Old-Fashioned Blackberry Cobbler

Blackberry Cobbler

Who doesn’t remember coming in from playing outside in the summer sun to the welcoming scent of fresh baked blackberry cobbler? We just happen to grow some of the best berries in Tennessee. Pick some up at a farmers market near you and try out this tasty recipe!

You’ll need:

4 cups fresh blackberries
1 tablespoon lemon juice
1 large egg
1 cup sugar
1 cup all-purpose flour
6 tablespoons butter, melted
Cinnamon  

To make:

Preheat oven to 375°. Place blackberries in a lightly greased 8-inch square baking dish and sprinkle with lemon juice. Stir together egg, sugar, and flour in a medium bowl. Sprinkle mixture over fruit. Drizzle melted butter over topping. 

Bake for 35 minutes or until lightly browned and bubbly. Let the cobbler stand for ten minutes. Serve warm with whipped cream or ice cream and enjoy!

Visit our blog for more delicious recipes!