Painted Pumpkins!

Fall is such a fun time of year for crafts! From making crayon rubs of leaves to painting pumpkins, there are so many great projects to do to keep the little ones entertained.

You’ll Need:
Pumpkins (we’ve got heaps of pumpkins and gourds in all shapes, sizes and colors)
White acrylic paint
Paint Pens

To Make:
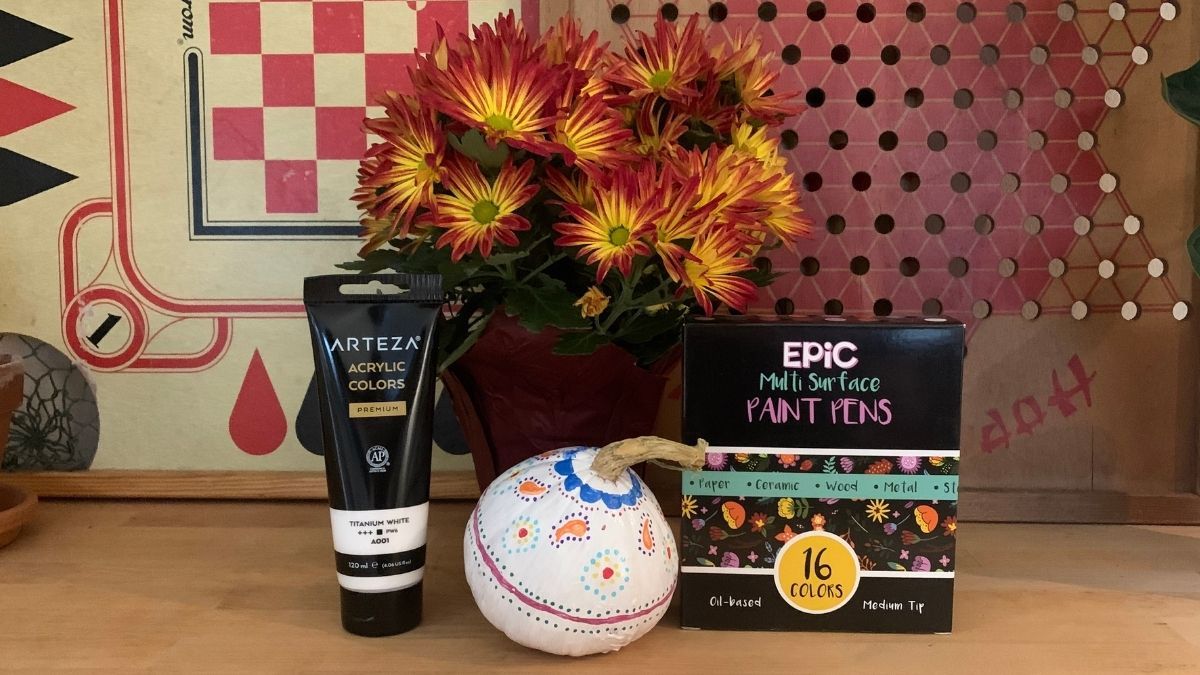
Using a white acrylic paint, give your pumpkin two coats, allowing both to dry completely. Using your paint pens, decorate your pumpkins as you wish! Let each coat dry completely. If your pumpkins will be outdoors, use an aerosol spray sealant to protect them from the elements. 

We look forward to seeing y’all here at the farm for loads of Fall fun!

Stenciled Pumpkins

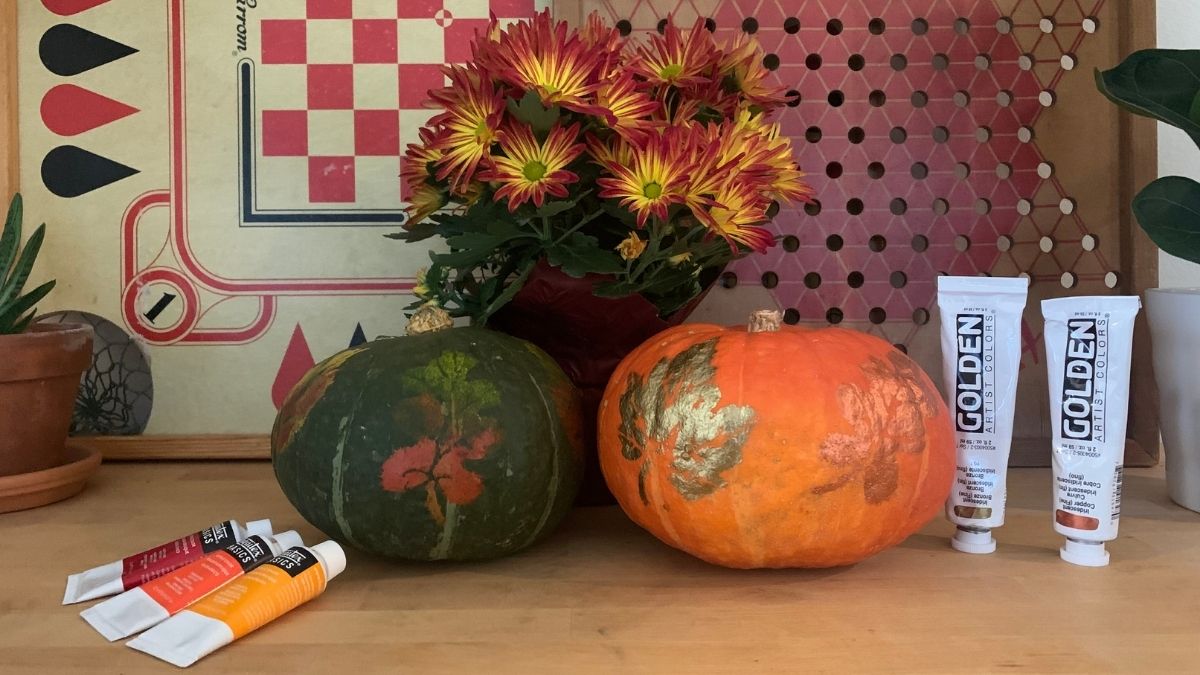
Did you know you can create some GOURDgeous pumpkins with just a bit of paint, a brush and a few templates? Give this fun pumpkin decorating method a try!

You’ll Need:
Pumpkins
Paint (we used acrylic paint in green, red and orange along with copper and gold)
Paint brushes or sponges
Stencils (we used these fun leaf ones)

To Make:
Place the stencil over the pumpkin (you can use tape to hold it in place if needed). Using the brush or sponge, apply the paint to the pumpkin. Allow to dry. If these pumpkins are going outdoors, an aerosol spray sealant will help the paint stick even in the elements.

We look forward to seeing y’all here at the farm for loads of Fall fun!

Pumpkin Stick ‘Ems!

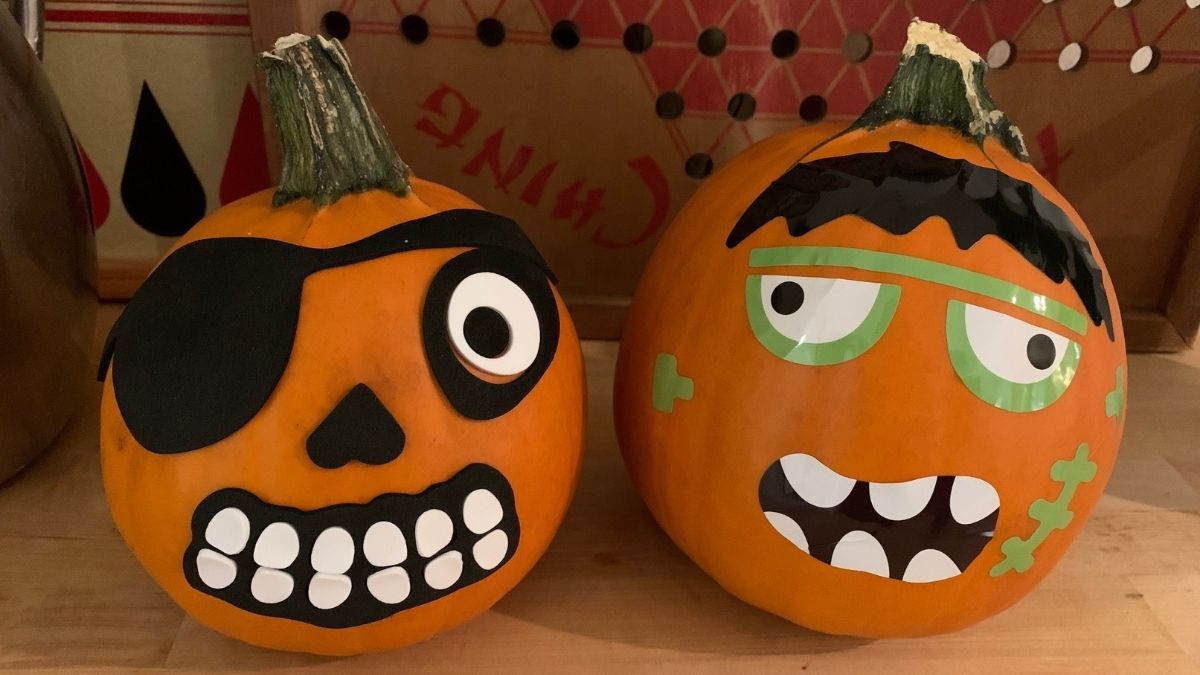
You don’t need to carve a pumpkin to create some spectacularly festive pumpkins! Try these fun sticker packs to create your fall porch decor!

You’ll Need:
Pumpkins of various sizes (we have a bunch here at the farm)
3D Foam Sticker Kit
Face Sticker Kit

To Make:
Peel and stick! That’s it!

We look forward to seeing y’all here at the farm for loads of Fall fun!

Spooky Spiders!

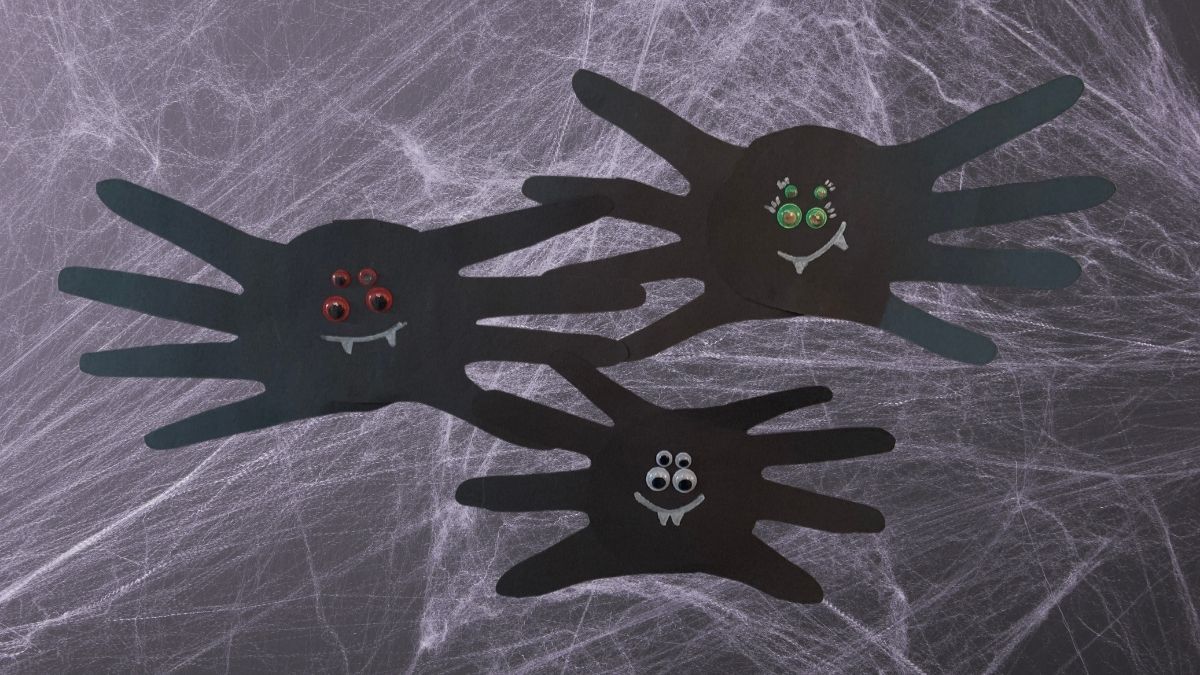
Fall is such a fun time of year for crafts! From painting pumpkins to making crayon rubs of leaves, there are so many great projects to do to keep the little ones entertained. Try this hand-print spider craft! 

You’ll Need:
Black construction paper
Google eyes
Glue
Safety scissors
White colored pencil, marker or crayon
Yarn
Tape

To Make:
Using the white colored pencil, help your child trace their hands. They can choose to have 10-legged spiders or 8-legged spiders. Help your little one cut out the hands or cut them out for them. Using glue, paste the palms over one another so that the fingers are splayed out. Stick the google eyes on and use the white pencil to make a smile complete with fangs. Cut a piece of string and tape it to the back of the spider to hang. Get the whole family involved to make a heap of the creepy critters!

We look forward to seeing y’all here at the farm for loads of Fall fun!

Easy Roasted Butternut Squash

Easy Roasted Butternut Squash

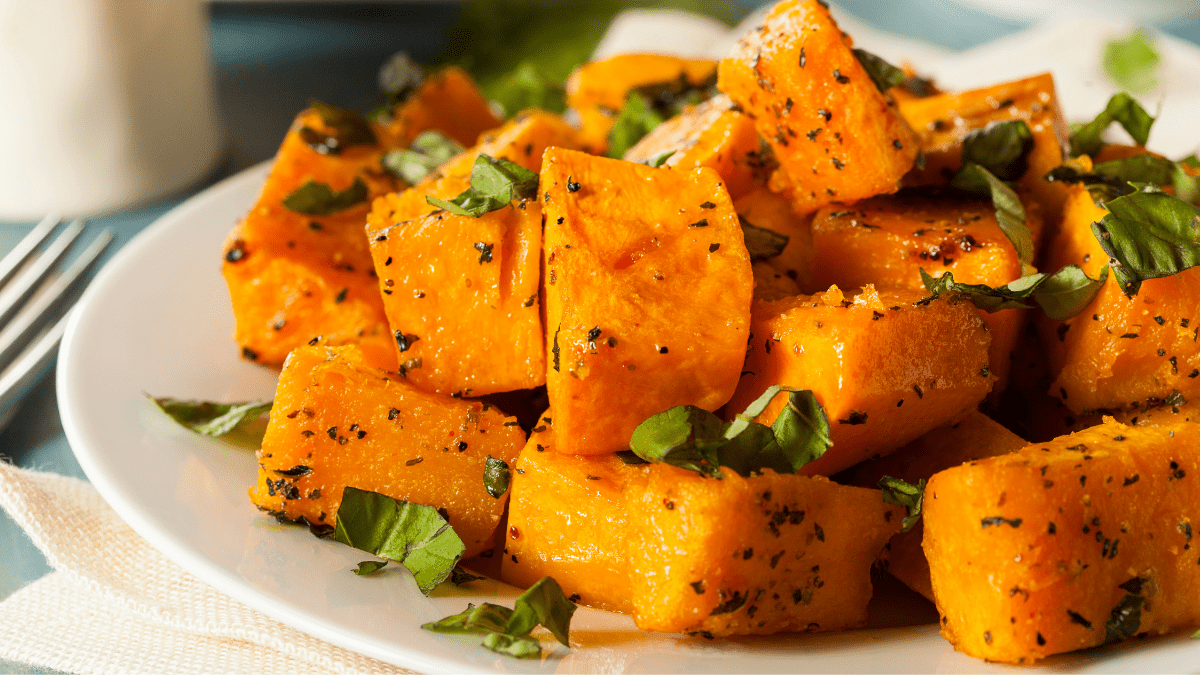
‘Tis the season for roasting and one of our favorite roasted dishes is butternut squash. Try this easy recipe. It’s guaranteed to please everyone’s palate!

You’ll Need:

1 butternut squash (peeled, seeded, and cut into 1-inch cubes
2 tbsps olive oil
2 cloves garlic, minced
Salt and pepper to taste

Cook It Up:

Preheat the oven to 400 degrees. In a bowl, add cubed squash, garlic, olive oil, and salt and pepper. Toss to coat evenly.

Arrange squash on a baking sheet and roast until tender and slightly browned, around 25 to 30 minutes.

That’s it! It really is one of the easiest fall side dishes.

Pick up your butternut squash right here at the farm and follow us on Pinterest for more great recipes!

Fall Blooms

Fall Blooms

What better way to celebrate fall than to take delight in it’s stunning blooms! The cool, crisp weather brings with it some of the most vibrant bouquets of the year.

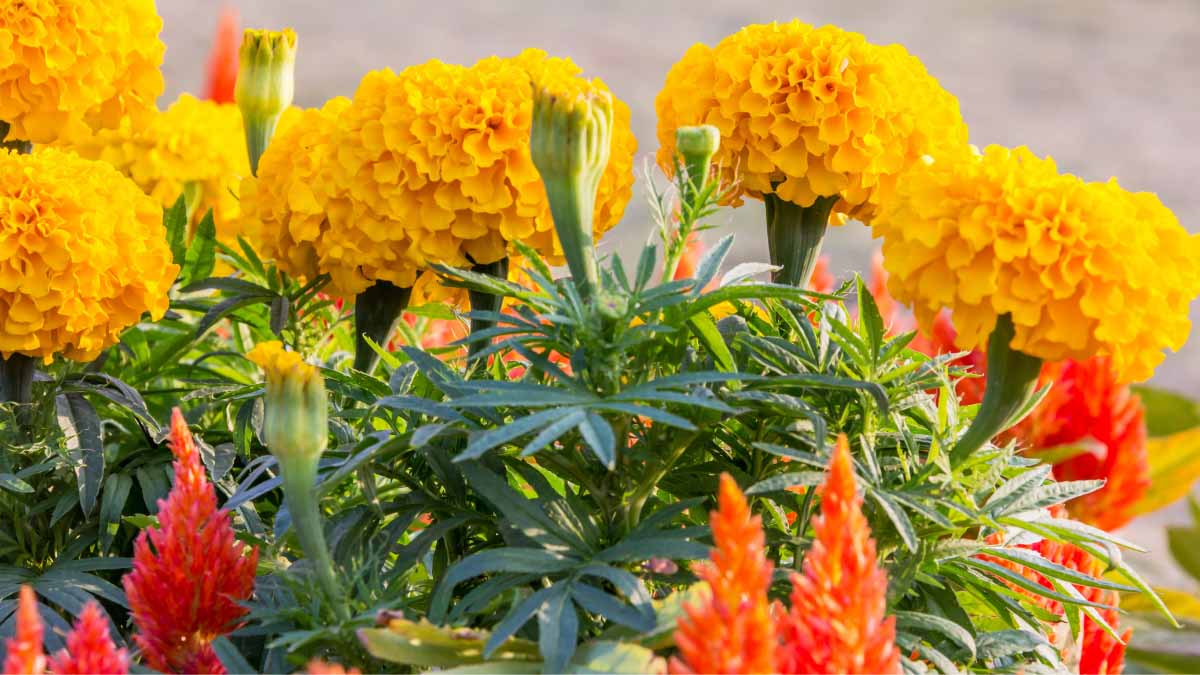
Here at the farm, we offer a variety of flowers including zinnias, several varieties of celosia, gomphrena, hydrangeas, sunflowers, asparagus fern, gladiolas, and marigolds. With shades of crimson, gold, and bright orange, these flowers will make any space feel like fall.

Come on out to the farm and pick up a few bouquets! New to flower arranging? Visit our Pinterest page for inspiration!

DIY Halloween Costumes

DIY Halloween Costumes

Halloween is just around the corner! As parents, we’d love to find fun and creative costumes for our kids without spending a fortune.  Try these WICKEDLY easy DIY Halloween costumes! They’re ADORABLE and won’t break the bank!

Scarecrow
You’ll need:
Jeans
Plaid shirt
Face paint
Fabric scraps cut into squares
Hot glue gun/glue or safety pins
Large piece of brown felt for DIY hat

To create:
Sew, glue, or safety pin fabric scraps to jeans and and felt hat. Fake sunflowers can be glued to hat if you’re feelin’ fancy. Paint seems and patches on your little one’s face and you’re done!

Bee
You’ll need:
Yellow shirt
Black pants/leggings
White felt, large enough for a pair of wings
Black felt, cut into wide strips
Hot glue gun/glue or safety pins

To create:
Pin or glue black strips to yellow shirt to create ‘bee body’. Using the white felt, cut out a pair of wings. Pin or glue wings to back of shirt. If you want a more girlie bee, you can add a black tutu to your ensemble!

Minion
You’ll need:
Yellow shirt
Denim overalls
Yellow beanie
Felt (white, black, and grey)
Hot glue gun/glue or safety pins

To create:
Using black felt, cut a strip long enough to wrap around the beanie and glue it to the beanie. Cut out a circle of white felt and another circle of grey felt, cutting out the center to make a frame. Cut out a smaller black circle to create the eyeball. Glue the grey felt frame to the white felt. Glue the black circle to the middle to complete the trademark minion goggle head!

Visit us on Pinterest for more fun DIY ideas!
Fall Mum Care

Fall Mum Care

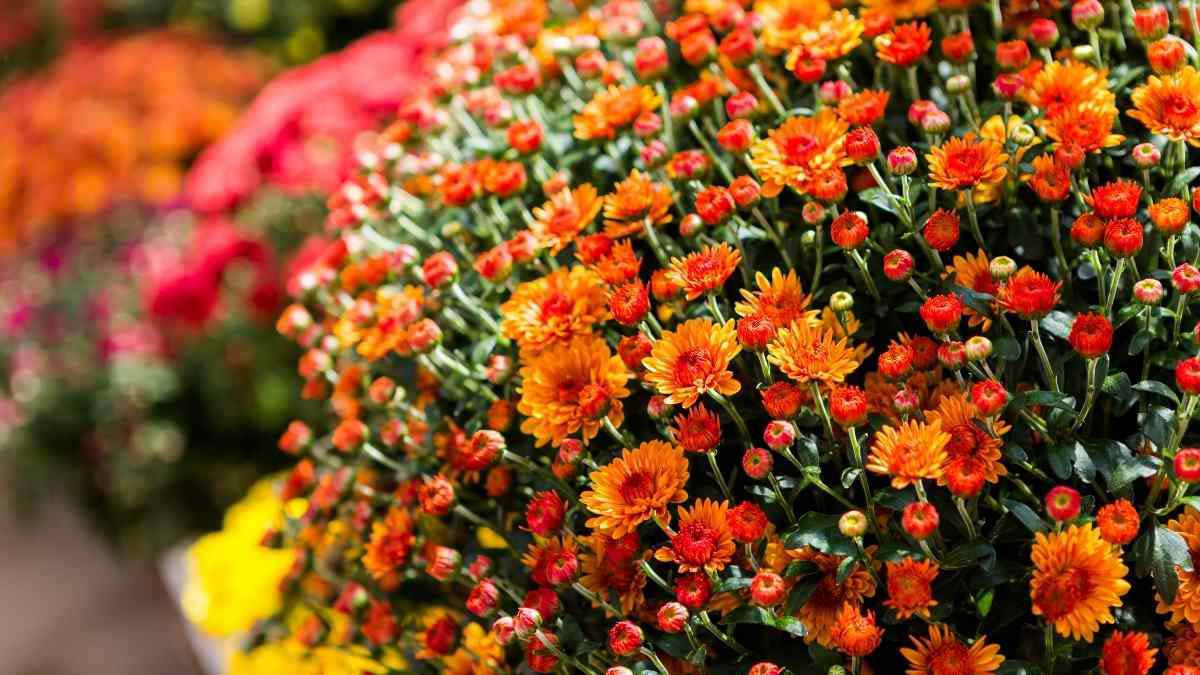
Fall is the time for mums to show off their blooms! We offer several lovely colors to perfect for adding fall flair to your front porch. Here are a few tips for keeping your mums healthy throughout the season!

Water
Mums do well with continually moist (not soggy) soil. As long as they feel moist to the touch, you’re good to go.

Light
Unlike mums planted in a spring garden that need 6 hours of sunlight, fall potted mums need bright but indirect light. Keep them a few feet back from a south-facing window or anywhere in a bright location without direct sun. Mums begin to bloom in the fall when the nights are longer. To help them maintain their bloom cycle, keep plants away from street lamps (if outdoors) and close the curtains if they are near a window with bright lights outside.

Comfy Temperatures
Container mums like cooler temps, from 60 to 65 degrees, during the night. If you like to keep your home toasty at night, plants can be moved into a cooler space like a basement or garage. Be sure to move your outdoor potted mums indoors if an early frost is anticipated.

Pinching
Pinching the tips of mums to encourage bushy growth and blossoms is only necessary if you happen to have container mums during the summer before blooming begins. In that case, pinch off the tips of all new stems when they are 6 to 8 inches tall, but stop pinching by the end of June for fall blooming. If you plan to keep your mums only for the fall season, pinching isn’t necessary.

Come on out this fall and pick up some flowers and pumpkins for your seasonal decor!

Best Cooking Pumpkins

Pumpkin Eats

It’s Fall and most of us are busting out our crockpots and casserole dishes to start serving up that cold-weather comfort food! Pumpkins aren’t just for pumpkin pie. You can make wonderful stews, souffle, curry, and more! Here are some great pumpkin varieties 

Pumpkin Varieties
We’re going to bypass the big carving pumpkins (think Jack-O-Lanterns) all together as they are the worst pumpkins for cooking. Their meat is very stringy and their flavor is extremely bland. Instead, go for varieties that are sweet, uber flavorful, and have a smoother flesh. Look for pumpkins that are labeled as ‘sugar pumpkins’ or ‘pie pumpkins’. We grow several varieties of cooking pumpkins including Long Island Cheese, Cinderella, and Jarrahdale. 

Pumpkin Size
The best cooking pumpkins should be between 4-8 pounds. Be sure to check for bruising or spots as this can be a sign of rot. 

Storage
Keep your pumpkins longer by placing them in a cool temperature. When stored properly, pumpkins can last up to 90 days! You could be making pumpkin pies well past Christmas!

We look forward to seeing y’all here at the farm for loads of Fall fun!

Carving Pumpkins

Carving Pumpkins

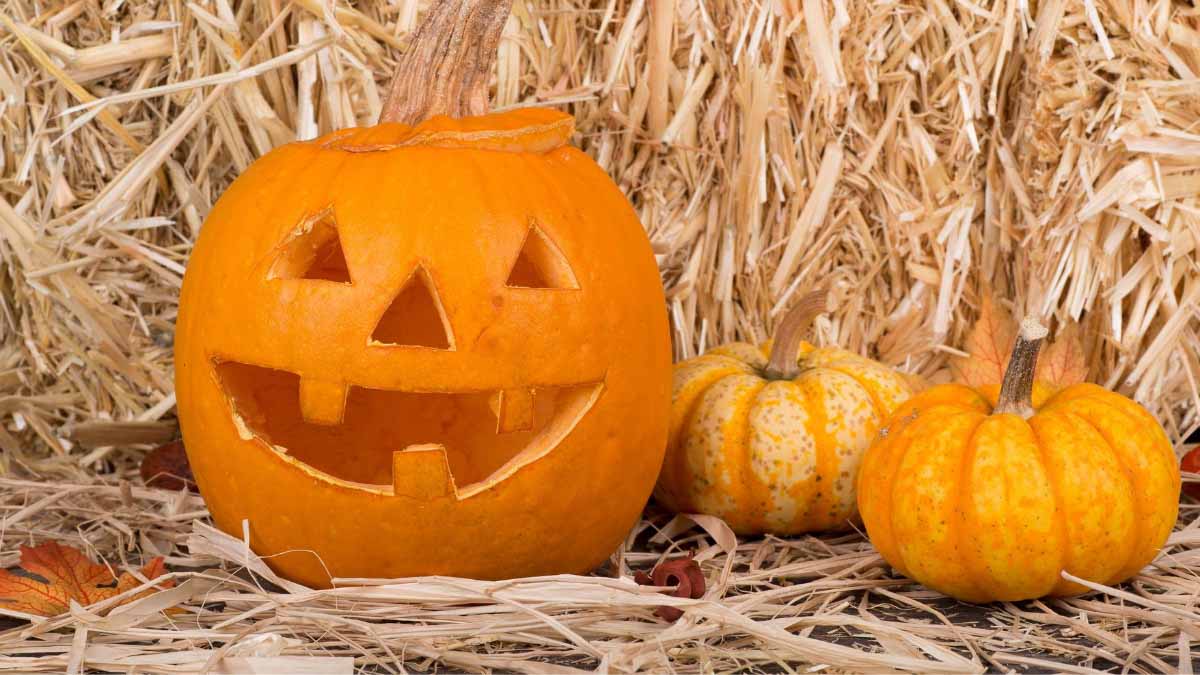
Fall and Halloween are just around the corner! It’s almost time to decorate the house in fake spider webs (or simply leave the REAL ones up), pick out a spooky costume and carve some pumpkins! Here are a few tips for aMAZEing Jack O’ Lanterns.

Tip 1. Choose the right pumpkin.
The right pumpkin has a flat bottom so that it doesn’t roll all over the front porch. Select a fresh pumpkin with a solid stem and no bruising. We grow several varieties of carving pumpkins including Orange Sunrise, Kratos, Gladiator and Early King. We also grow some really great white carving varieties including Polar Bear and New Moon.

Tip 2: Cut at an angle.
Have you ever cut the top off your pumpkin only to have to drop into the sticky, gooey mess? Avoid this nonsense by cutting your lid off at an angle.

Tip 3: Have the right tools.
One of the best tools for cutting the lid off a pumpkin is a keyhole saw. The sharp teeth on this saw can easily slice through a pumpkin’s thick shell, and the flexible blade is awesome for making curved cuts. Other useful carving tools include hole cutters, wood gauges and a power drill. Melon ballers or ice cream scoops are perfect for getting all that goopy pulp out. 

Tip 4: Keep it fresh.
Nothing stinks more than spending oodles of time on a pumpkin only to have it rot away a few days later. To keep your carved masterpiece daisy fresh for Halloween, spread petroleum jelly on the cut edges. If it shrivels up, you can freshen it up by soaking it in cold water for up to 8 hours. 

Visit us on Pinterest for loads of fun carving ideas!

Come on out to the farm this Fall for heaps of fun on the farm!