Get Crafty!
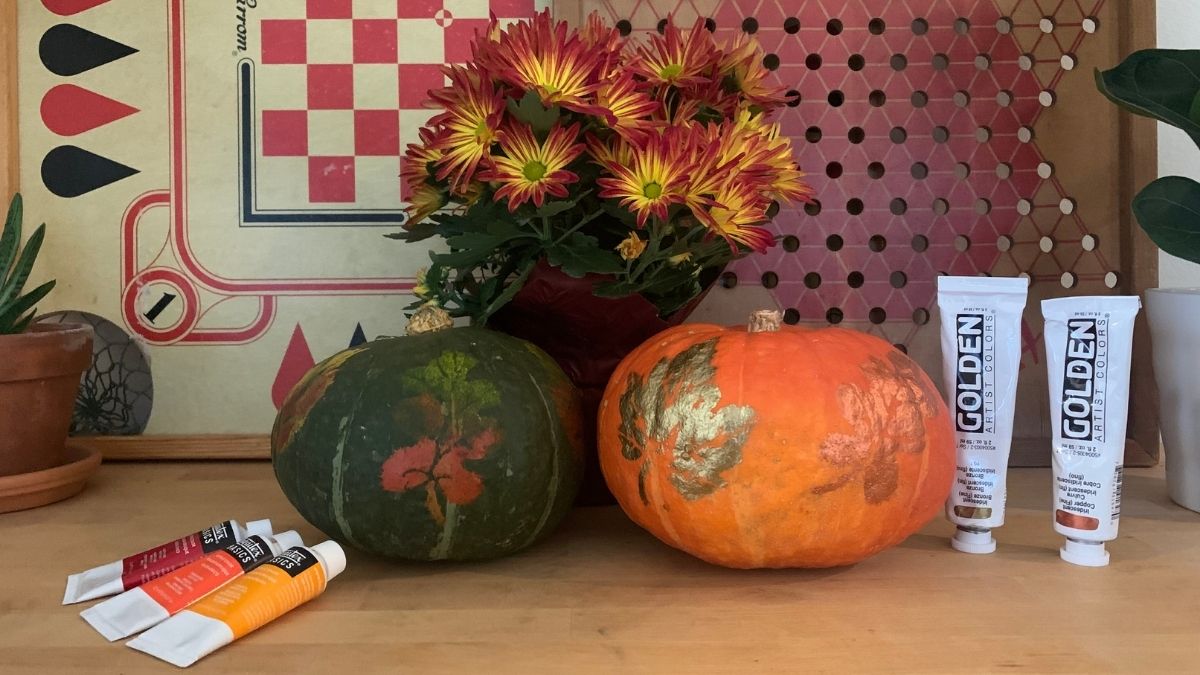
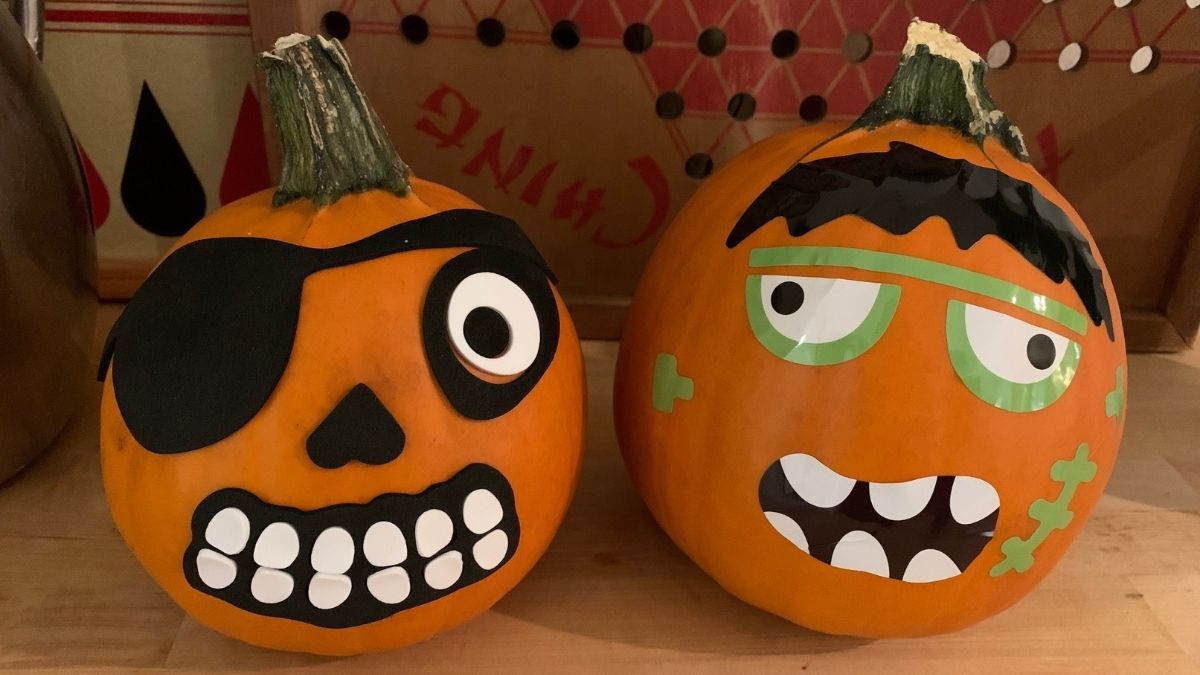
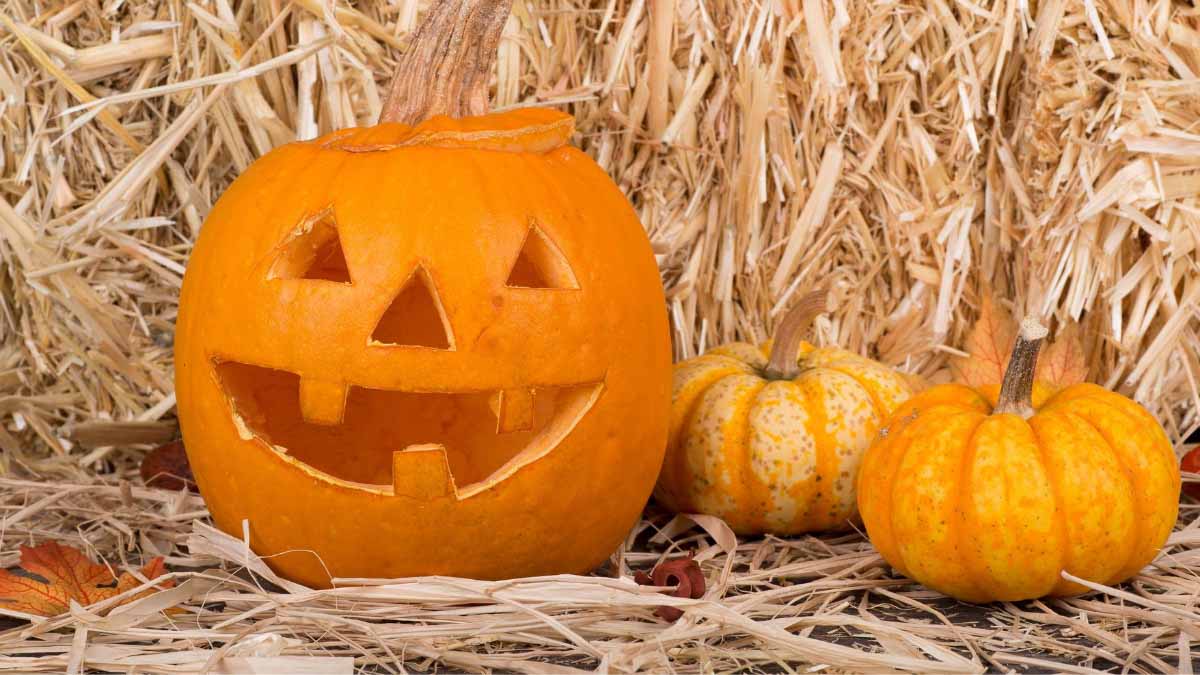
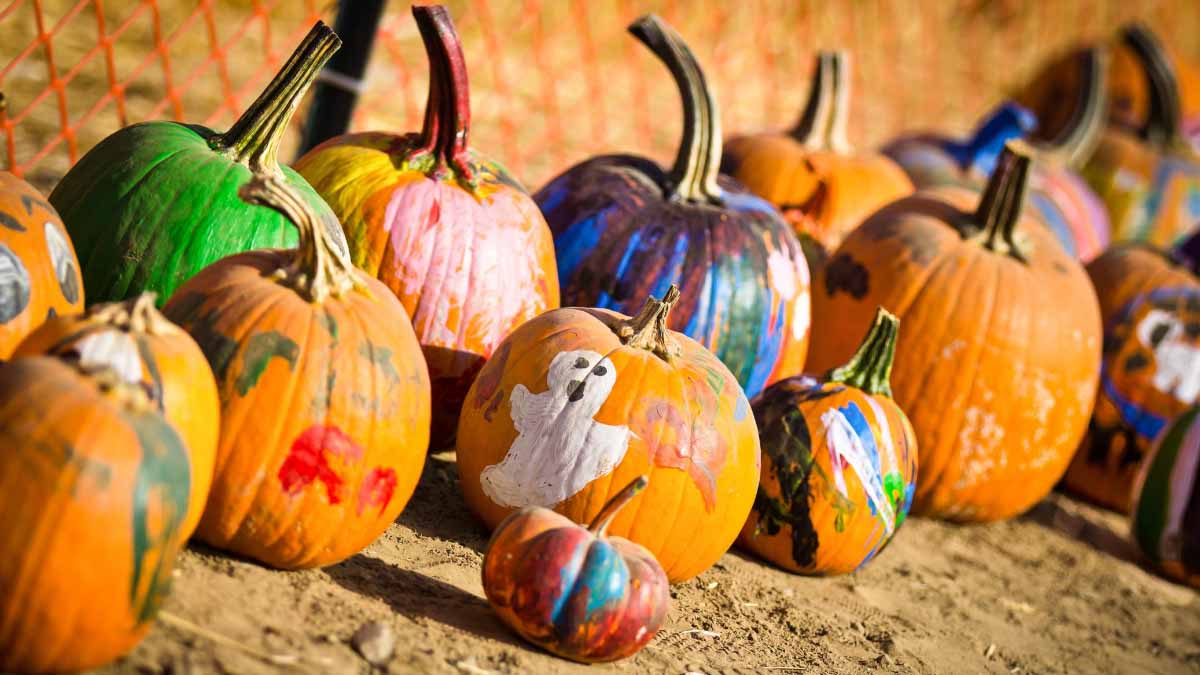
Painting pumpkins instead of carving them has several perks. For one, painted pumpkins last way longer than carved ones do. You don’t have to worry about the kids hurting themselves with sharp objects. Also, you can be as creative as you want to be with glitter, stickers, or whatever else your inner Picasso craves!
Picking the Right Pumpkin
The perfect painting pumpkin has a smooth, even surface. Be sure to choose one without bruises, scratches, and lumps. We have Early Kings and Gladiators if you want BIG pumpkins. We also have Munchkins if you want tiny pumpkins for your tiny toddlers. If lumpy is what you’re going for, we have Warty Goblins which look really cool!
A Good Cleaning
To clean your pumpkin, you can use a damp cloth or paper towel to gently remove the dirt and grime. Avoid using items like rough kitchen scrubbers as these can damage your pumpkin’s skin. Use a soft cloth to thoroughly dry your pumpkin and be sure to keep the stem area dry. A wet stem or blossom (the bottom of your pumpkin) can cause your pumpkin to rot.
Let Your Fancy Flow!
When it comes to pumpkin painting, the creative options endless! Stencils, markers and stickers are easy options for younger kids.
Pumpkin Painting Tools
Acrylic paint is a great option for painting pumpkins as it dries quickly and allows you to paint over the first layer in a short time period. Go-to painting tools include cheap paint brushes, cotton swabs, sponges, and cotton balls.
Mom Tip: Put down a cheap vinyl table cloth or some newspapers to protect your furniture from paint spills.
Gussy ’em Up!
Make your pumpkin shine with fun embellishments like glitter, sequins, pom poms, or rhinestones. Add googly eyes to create faces! Incorporate glow-in-the-dark paint to make your pumpkin stand out at night!
Check out our Pinterest boards for creative inspiration!
We look forward to seeing you here at the farm for all of our Fall fun!
